How to shoot the perfect reference photo
The render is only as good as the photo it starts from. A complete guide to light, background, pose, lens and the small mistakes that quietly ruin a try-on.
Every look the studio renders is built on one image of you. The garment is new, the pose is yours, the light is yours, and the proportions are yours. Sharpen that single image and everything downstream improves: garments drape correctly, shoulders line up, hems fall where they should, and the colour report reads your undertone instead of your lamp.
This is the guide we send to clients before their first session. It takes about ten minutes to follow and it is the highest-return ten minutes in the whole process.
Light before anything else
Light does two jobs at once. It describes the shape of your body, and it tells the colour engine what your skin actually looks like.
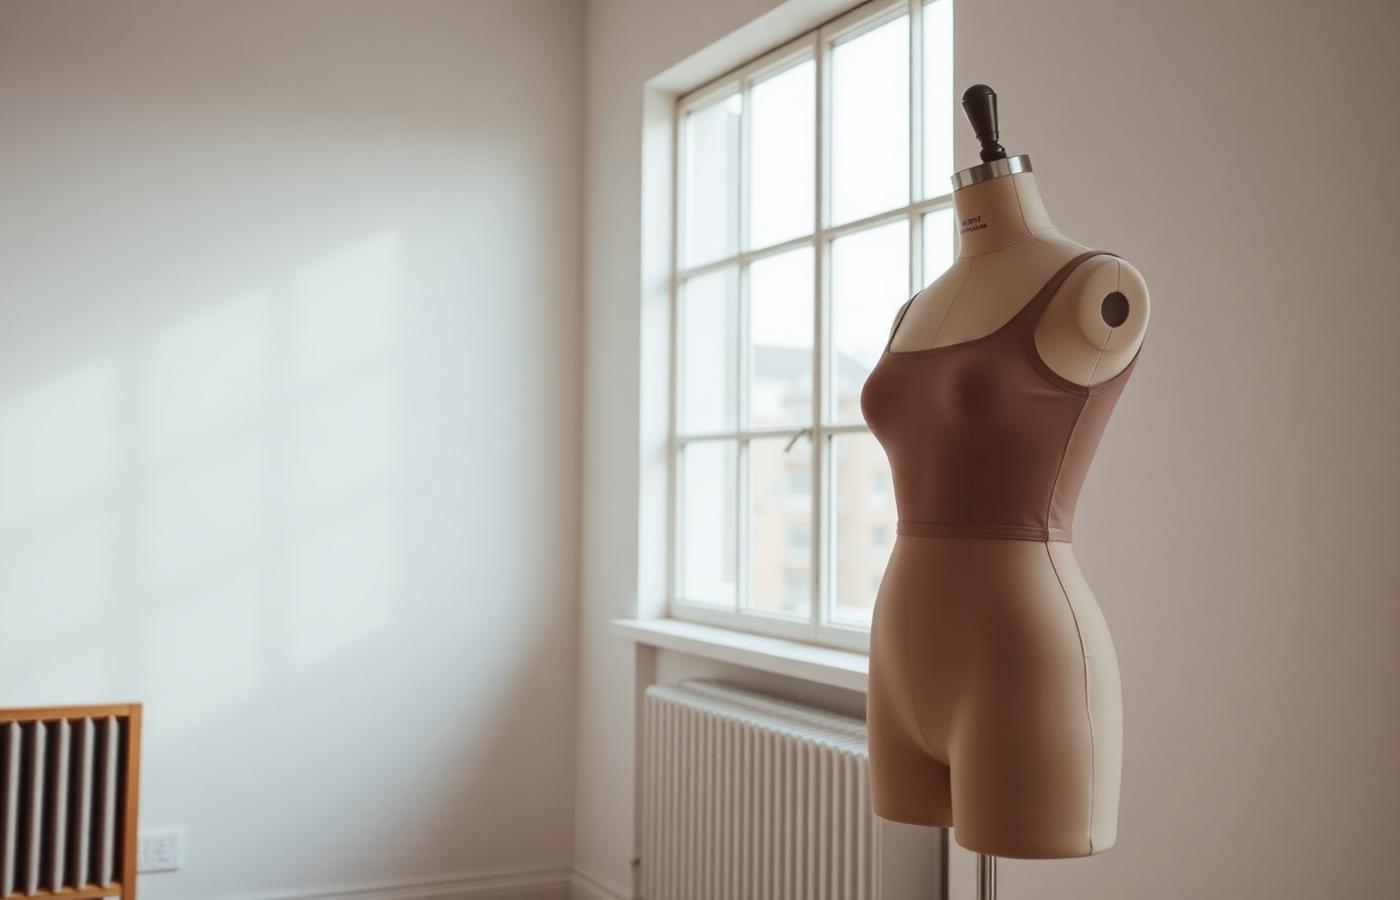
Stand about a metre back from a window, facing it, on an overcast day or in the first or last two hours of daylight. That light is soft, directional and neutral. It wraps around the face, keeps a gentle shadow under the jaw and along the ribs, and gives the model something honest to work with.
What to avoid, in order of how much damage it does:
- On-camera flash. It flattens the body into a cut-out and washes the undertone straight out of your skin.
- Overhead ceiling lights. They carve shadows under the eyes and chest and confuse the silhouette.
- Warm domestic bulbs. A 2700K bulb makes almost everyone read as warm-toned, which quietly skews the whole colour report.
- Direct midday sun. Hard highlights blow out on the shoulders and the render loses fabric detail there.
- Mixed light. A window on one side and a lamp on the other gives you two different skin colours in one photograph.
A background that says nothing
The plainer the wall, the more the model can infer about your outline. A pale, matte, evenly lit wall is ideal — off-white, grey, sand. Step forty or fifty centimetres away from it so you are not casting a hard shadow onto it.
Patterned wallpaper, bookshelves, open doorways and busy rooms all give the render competing edges to interpret, and edges are exactly what a try-on needs to read cleanly.
Clothes that describe your body
Wear something close-fitting and simple: a plain t-shirt or vest with leggings, slim trousers or cycling shorts. Solid colours. Nothing baggy, nothing with a large print, nothing with dramatic volume.
This feels counterintuitive — you are being photographed in order to try on clothes — but the reference photo is not a styling exercise. It is a measurement. Loose fabric hides the waist and hip line and the render has to guess; when it guesses, garments sit wrong.
Two more details that matter more than people expect: tie long hair back or sweep it clearly to one side so the shoulder line is visible, and take off bulky outerwear, scarves and oversized jewellery.
Framing, distance and lens
Use the rear camera, not the selfie camera. Front-facing lenses are wide and close, which enlarges whatever is nearest — usually your head and hands — and shortens your legs.
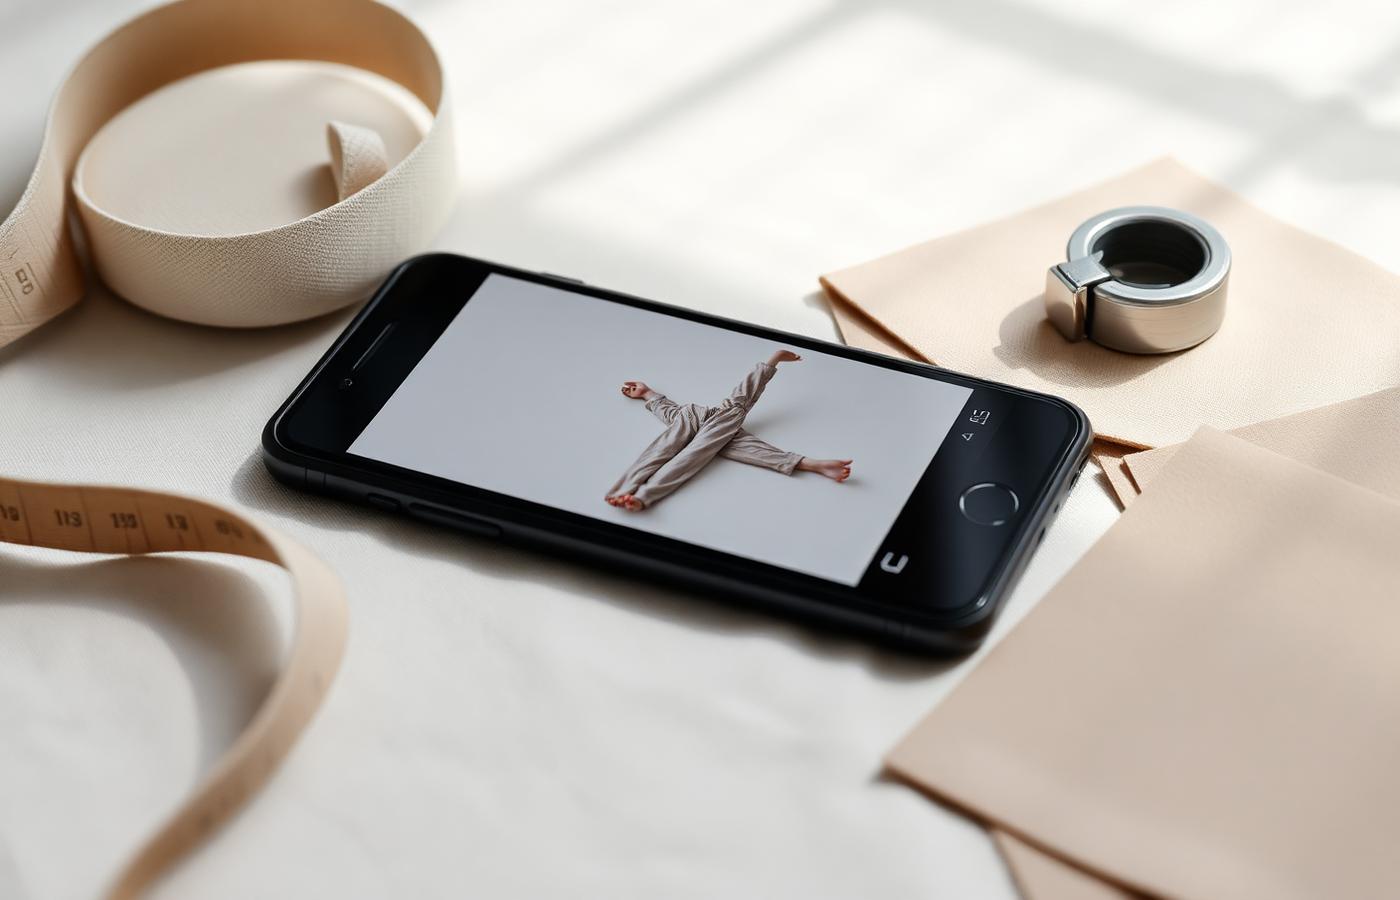
Prop the phone at roughly chest height, two to three metres away, and include the whole body from the top of the head to the shoes with a hand's width of space above and below. Chest height keeps the vertical proportions honest; shooting from above shrinks the lower body, shooting from below stretches it.
Use the timer or a self-timer burst rather than reaching for the shutter, so your posture stays neutral.
The pose
Stand square to the camera, weight even on both feet, feet hip-width apart, arms relaxed and slightly away from the torso so there is a visible gap of background between arm and waist. Shoulders down, chin level, eyes to the lens.
That gap under the arms is the single most useful thing in a reference photo. It gives the model a clean silhouette on both sides of the body and stops sleeves from merging into the top.
Avoid crossed arms, hands in pockets, hands on hips, a contrapposto hip pop, or a three-quarter turn. All of them are more flattering as photographs and less useful as references.
Finishing the file
- No filters, no beauty mode, no skin smoothing. Anything that alters colour or texture alters the verdict.
- No portrait-mode blur. It softens the edges the render needs.
- Shoot at full resolution and upload the original rather than a screenshot or a chat-app copy — messaging apps recompress heavily.
- Check sharpness by zooming into the shoulder seam of your top. If the seam is crisp, the file is good.
Build a small set, not one photo
Keep two or three references on file and use whichever suits the garment: one straight-on full body for most try-ons, one from the waist up for knitwear, shirts and anything judged mainly on colour, and one in shoes you actually wear for full outfit sets. Studios work this way for the same reason — one angle never answers every question.
Refresh it when you change
Update the reference after a haircut or colour change, a meaningful change in build, or a seasonal shift in skin tone. A six-month-old photo will still render, but it renders the person you were.
The two-minute audit
Before you upload, check the frame against this list. Soft daylight from the front. Plain wall. Fitted plain clothing. Whole body in frame with headroom. Camera at chest height, two to three metres back. Arms away from the body. No filter. Sharp at full size.
Everything the studio produces — every render, every fit score, every colour swatch — inherits the quality of that one file. Spend the ten minutes.